
Do you know how to wire garbage disposal? If not, don’t worry! In this blog post, we will walk you through the process step-by-step. It is a lot easier than you might think. All you need is a few basic tools and some knowledge of electrical wiring.
The most important thing is to be careful and take your time. You don’t want to make any mistakes that could cause a fire or other safety hazards. Let’s get started!
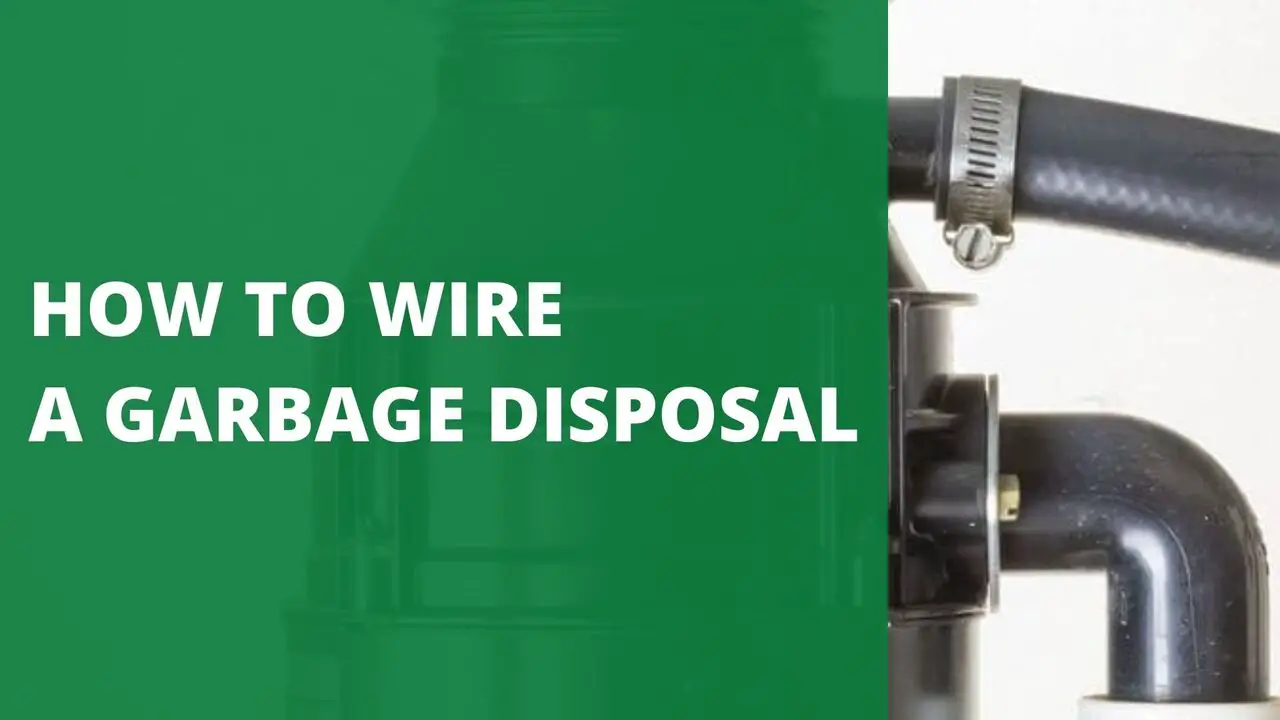
How to Wire a Garbage Disposal?

1. Wire a Garbage Disposal with a Plug-in Cord
You should connect your garbage disposal to an electric circuit. You will need to contact an electrician for installation support if you don’t know how to do it yourself. Installing a switch specifically for the garbage disposal is also something worth considering.
If your dishes are all stored in one place after washing them, this configuration will let you use the outlet to control power and water flow simultaneously.
Turn off the plugin if you want the power to go back to normal. You will need to buy cords separately. Kits containing all the required components are available for purchase. Get a grounded cord with the corresponding voltage and amperage rating for your garbage disposal. Connecting the cord to the disposal first makes it simpler than trying to connect it after everything else is set up.
Garbage disposals use high-pressure water to grind up food waste. This process generates a lot of heat and pressure. If your drain leaks or clogs, it could cause your sink to overflow and flood the kitchen. Ensure the drain line is clear before installing the disposal to prevent this problem.
- Remove the Wiring Compartment Cover
The metal cover on the bottom of the garbage disposal unit is secured with screws. The cover of most garbage disposals is held in place with one or two screws. These are removed using a screwdriver. Set them aside for now.
- Install a Cord Clamp
To install a cord clamp, insert the threaded end into the hole nearest the electrical outlet. Be sure to secure it by tightening the nut. The clamp should be tight enough to hold the cord without budging.
- Strip the Cord Wires
To prepare the appliance cord wires for connections, strip about 3/8 inch of insulation from the ends of each wire. Be sure to use the correct notch on the wire stripper for your type of cord. Stranded copper is slightly larger than solid copper, so you will need to use different cracks on your stripper accordingly. Most ropes have stripped wires already; if yours does, you can skip this step altogether.
Leave it as-is if your cord has a ground wire with an attached ring connector. Feed the end of the cable through the clamp and into the wiring compartment. Securely fit the wire in the clamp by tightening two screws on it, but be careful not to over-tighten it. The wire shouldn’t suffer from compression or deformation caused by improperly fitted clamps.
- Connect the Wires
Grounding is the process of sending electricity through the ground. After your house has been disconnected, the power cannot return. Before turning on the power source, ensure the wires are connected.
2. Wire a Garbage Disposal with an optional Dishwasher
To correctly install the outlet, follow these steps:
- Attach the white wire to the silver side and the neutral wire to the tab.
- Remove the tab by bending it sideways.
- Use the outlet mounting screws to secure the outlet to the wall.
Adjust the outlet from side to side as needed. Secure the cover plate in place, covering the box’s opening. Disposals come in a variety of sizes and with varying degrees of power. A 3-horsepower device should be enough for most people. If you need something stronger, check out our other offerings.
Things To Try Before Removing The Garbage Disposal

Garbage disposals that are clogged should be turned off, unplugged, and removed. Shine a light down the drain, fish out the object, and remove it from the sink. Disposal machines dispose of waste. A handle is rotated back and forth to operate them. To change them, you will need a hex wrench.
Most disposals come with a bent hex wrench preinstalled. If you don’t have one, go to a hardware store or use an ordinary Allen wrench. Turn the wrench back and forth until the motor rotates completely around.
Remove the wrench and flip the switch on your disposal. Push the reset button after manually turning the motor or if it overheats. Wait five minutes for the engine to cool down before pushing the reset button if it doesn’t start after manually turning it or if it overshoots. The water level should rise when you connect your disposal unit. After a few minutes, the water level should begin to decline as water is flushed down the drain.
The Bottom Line
Garbage disposals are fantastic kitchen gadgets. Food waste is much easier to remove using a garbage disposal. But, they also have some drawbacks. They are noisy, so you will hear them while flushed. They are also more expensive to replace than other types of disposals. Consider replacing the disposal instead of repairing an old one when changing it.
FAQs
Should garbage disposal be hardwired?
Garbage disposals should be hardwired or linked to an outlet via a ground-fault circuit. A dedicated circuit is typically recommended, but if the disposal shares a circuit with a dishwasher, that may be acceptable. The user guide for garbage disposal is the best resource on this topic.
What is the difference between corded and uncorded garbage disposal?
While non-corded models don’t need an extra electrical outlet, they will still need to be installed and wired by someone knowledgeable about appliance installation. Corded models are ideal if you already have an outlet installed under your sink specifically for disposal.
Additional Contents