Got some leftover dry ice from a party or project. It might look harmless, but if you don’t get rid of it the right way, it can be risky. It’s cold enough to burn your skin or cause other serious problems.
It’s easy to handle safely once you know how. Whether you’re into spooky Halloween effects or working in a lab, it’s important to learn the safe way to deal with it.
This guide keeps it simple. You’ll find out what to watch out for, how to safely let dry ice disappear on its own, what not to do, and how to move it safely if needed. Let’s keep things cool and safe.
Understanding Dry Ice and Its Hazards
A. Definition and properties of dry ice
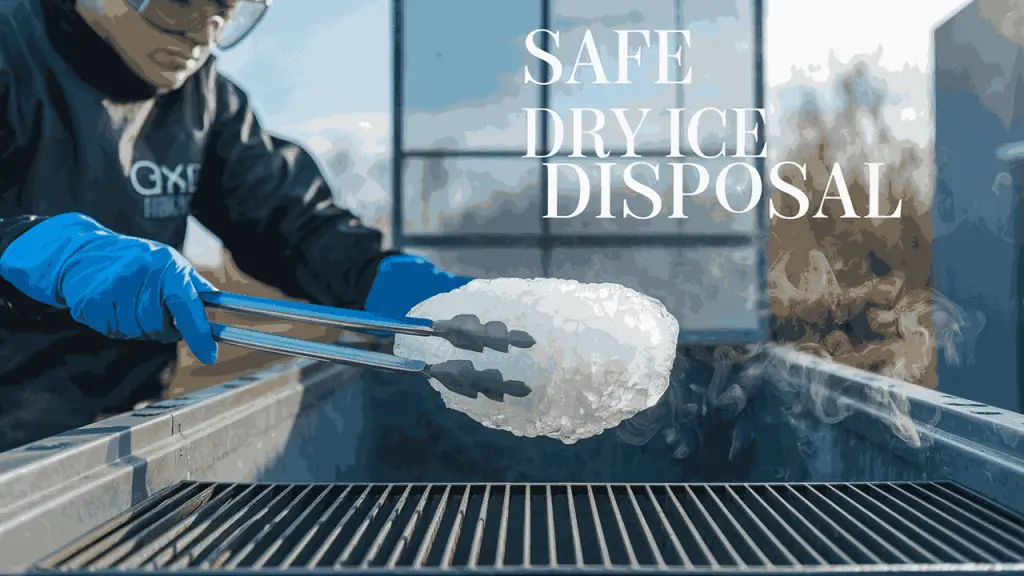
Dry ice is the solid form of carbon dioxide, with a temperature of -109°F (-78°C). It’s unique because it sublimates directly from a solid to a gas, skipping the liquid phase. This property makes it useful for various applications but also presents significant hazards.
B. Potential risks: burns, frostbite, and carbon dioxide buildup
You must handle dry ice with caution due to its extreme cold temperature. Direct contact can cause severe freeze burns or frostbite.
Moreover, as it sublimates, it releases carbon dioxide gas, which can accumulate in poorly ventilated areas, leading to oxygen depletion and potential suffocation risks.
| Hazard | Risk | Prevention |
| Burns/Frostbite | Skin damage | Use insulated gloves |
| CO2 Buildup | Suffocation | Ensure proper ventilation |
C. Importance of proper handling and disposal
You should always use protective gear, including insulated gloves when handling dry ice. Store it in well-ventilated areas using non-airtight, insulated containers to prevent pressure buildup.
Proper disposal is crucial to avoid environmental and safety risks. With these hazards in mind, next, we’ll explore how to prepare for safe dry ice disposal.
Preparing for Safe Dry Ice Disposal
A. Choosing a well-ventilated area
Select an outdoor space for dry ice disposal. This allows carbon dioxide to dissipate harmlessly. Ensure the area is inaccessible to children and pets.
B. Wearing protective gear: gloves, long sleeves, and closed-toe shoes
| Protective Item | Purpose |
| Insulated gloves | Prevent skin burns and frostbite |
| Long-sleeve shirt | Protect arms from accidental contact |
| Closed-toe shoes | Shield feet from falling dry ice |
C. Selecting appropriate containers for sublimation
Choose a Styrofoam chest or lidded plastic container. Leave the lid slightly open to allow gas to escape. Place the container on a flat surface away from high-traffic areas.
With these preparations complete, you’re ready for the step-by-step disposal process.
Step-by-Step Disposal Process
A. Breaking dry ice into smaller pieces
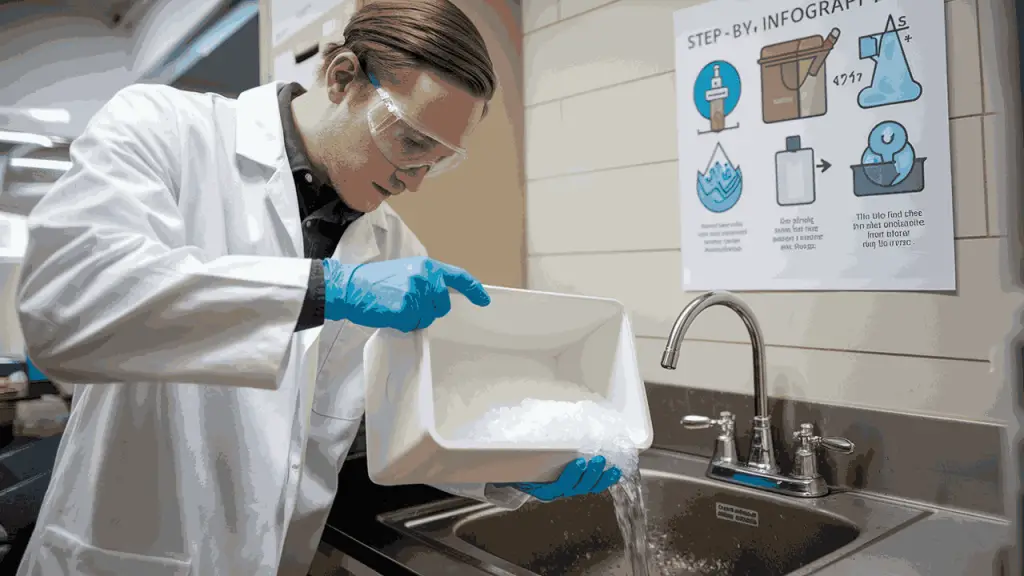
To begin the disposal process, you’ll need to break the dry ice into smaller pieces. This step is crucial as it increases the surface area, allowing for faster sublimation. Here’s how you can do it:
- Put on your insulated gloves and safety goggles
- Use a hammer or mallet to carefully break the dry ice
- Aim for pieces roughly the size of ice cubes
- Work on a sturdy surface to prevent damage
Remember, never handle dry ice with bare hands, as it can cause severe frostbite.
B. Placing dry ice in ventilated containers
Once you’ve broken the dry ice into smaller pieces, it’s time to place them in ventilated containers. This step is essential for allowing the carbon dioxide gas to escape safely. Follow these guidelines:
- Use plastic or metal containers with loose-fitting lids
- Ensure the containers have small holes or gaps for ventilation
- Avoid using airtight containers, as they can build up pressure
- Fill the containers no more than halfway to allow room for gas expansion
C. Allowing natural sublimation in a safe location
Now, you’ll need to find a suitable location for the dry ice to sublimate naturally. Here’s what to consider:
| Location Requirements | Reason |
| Well-ventilated area | Prevents CO2 buildup |
| Away from living spaces | Ensures safety |
| Out of reach of children and pets | Prevents accidental contact |
| Sheltered from direct sunlight | Slows sublimation rate |
Place your ventilated containers in this safe location and allow the dry ice to sublimate naturally. This process can take several hours to a few days, depending on the quantity and environmental conditions.
D. Accelerating sublimation with warm water (optional)
If you need to dispose of the dry ice more quickly, you can accelerate the sublimation process using warm water. Here’s how:
- Fill a large, well-ventilated container with warm water
- Carefully add the dry ice pieces to the water
- Observe the rapid sublimation and fog effect
- Ensure the area is well-ventilated to disperse the CO2 gas
Remember, this method produces a large amount of fog and CO2 gas, so extra caution is necessary.
With these steps completed, you’ve successfully disposed of your dry ice. Next, we’ll cover essential safety precautions to keep in mind during the disposal process to ensure your well-being and that of others around you.
Safety Precautions During Disposal
During dry ice disposal, you must prioritize safety to prevent accidents and injuries.
A. Avoiding skin contact and inhalation of carbon dioxide
- Wear insulated gloves to protect your skin from burns
- Use tongs to handle dry ice
- Ensure proper ventilation to prevent CO2 buildup
B. Keeping dry ice away from children and pets
| Group | Precaution |
| Children | Store dry ice out of reach |
| Pets | Keep in sealed, ventilated containers |
C. Monitoring the disposal area
You should regularly check the disposal area to ensure no unintended contact occurs. With these precautions in mind, next, we’ll explore prohibited disposal methods to further enhance safety.
Prohibited Disposal Methods
Now that we’ve covered safety precautions during disposal, it’s crucial to understand the methods you should avoid when getting rid of dry ice.
Improper disposal can lead to serious hazards, so let’s explore the prohibited methods you must steer clear of.
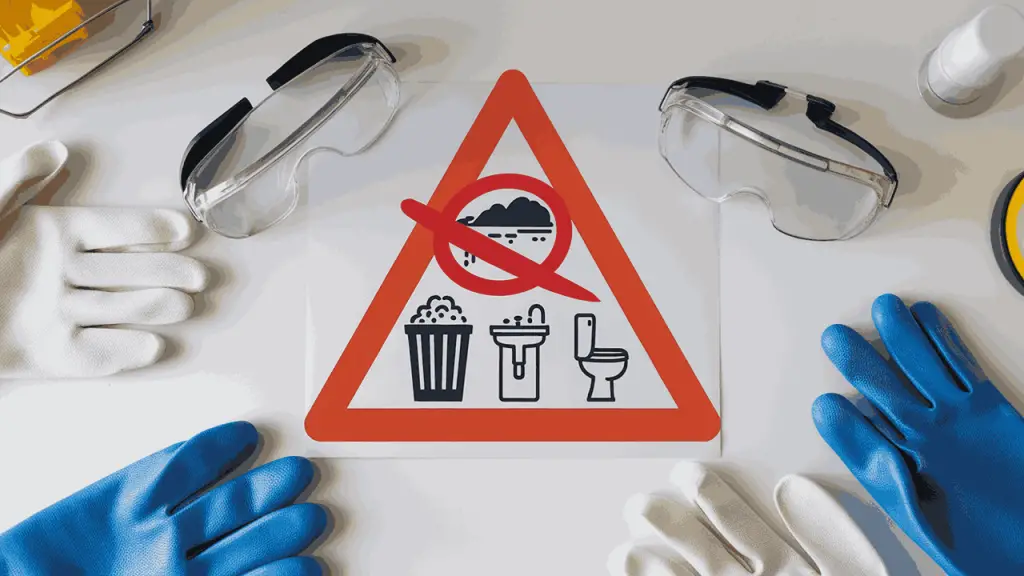
A. Flushing down sinks or toilets
You should never attempt to dispose of dry ice by flushing it down sinks or toilets. This method is extremely dangerous as it can cause:
- Rapid sublimation in confined spaces
- Potential damage to plumbing systems
- Risk of carbon dioxide buildup in sewage systems
B. Placing in trash bins or garbage chutes
Disposing of dry ice in regular trash bins or garbage chutes is strictly prohibited. Here’s why:
- It can cause burns to unsuspecting waste handlers
- There’s a risk of pressure buildup in sealed containers
- It may lead to dangerous carbon dioxide accumulation in confined spaces
C. Disposing in public areas or sealed containers
You must avoid disposing of dry ice in public areas or sealed containers. This practice is hazardous because:
- It poses risks of burns to unaware individuals
- Carbon dioxide buildup can create hazardous conditions
- There’s a potential for suffocation in poorly ventilated areas
| Prohibited Method | Potential Hazards |
| Flushing down drains | Plumbing damage, CO2 buildup |
| Trash bins/chutes | Burns to handlers, pressure buildup |
| Public areas/sealed containers | Burns to others, suffocation risk |
Remember, the safest way to dispose of dry ice is to allow it to sublimate in a well-ventilated area. Always prioritize safety and follow proper handling procedures to minimize risks to yourself and others.
With these prohibited methods in mind, next, we’ll explore how to handle any leftover materials after the dry ice has fully sublimated.
Handling Leftover Materials
A. Proper disposal of containers and wrapping
After your dry ice has fully sublimated, you’ll need to dispose of any containers or wrapping properly. Take these items to a hazardous waste collection site for safe disposal. This ensures that any residual chemicals or materials are handled correctly.
B. Cleaning up the disposal area
Once you’ve removed all containers and wrapping, it’s essential to clean the disposal area thoroughly. Ensure proper ventilation to dissipate any remaining carbon dioxide gas. Use protective gear while cleaning to avoid any potential contact with residual dry ice particles.
| Disposal Item | Disposal Method |
| Containers | Hazardous waste site |
| Wrapping | Hazardous waste site |
| Gloves | Hazardous waste site |
Transportation Considerations
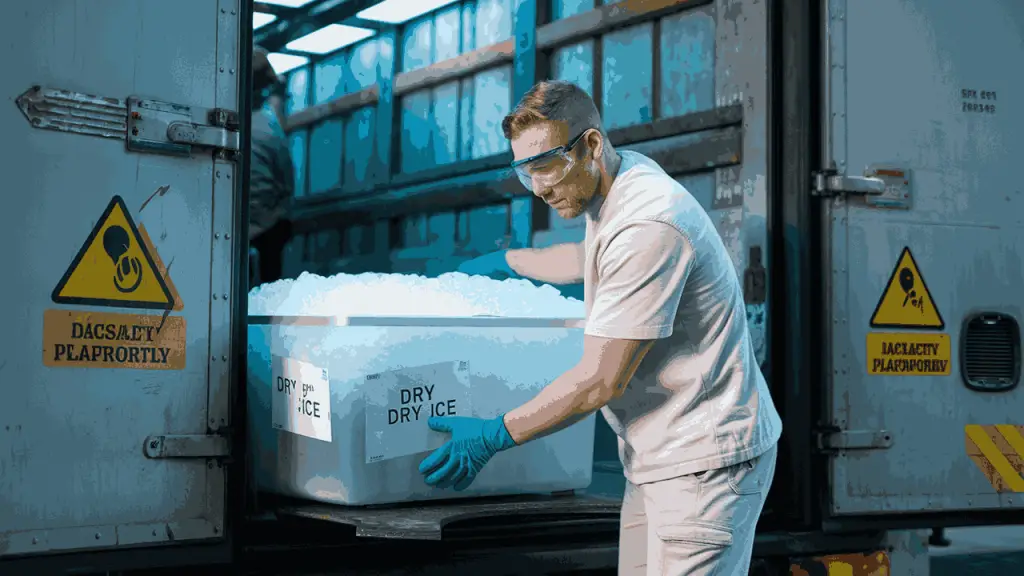
Now that we’ve covered how to handle leftover dry ice materials, let’s focus on the crucial aspects of transporting this substance safely.
A. Ventilation requirements for vehicles
When transporting dry ice, you must ensure proper ventilation in your vehicle. Keep windows open to allow air circulation and prevent CO₂ buildup. If possible, use external cargo areas for storage. Remember:
- Never transport dry ice in fully enclosed spaces
- Avoid leaving it in parked vehicles, especially in hot weather
- Inform all passengers about the presence of dry ice
B. Safe storage during transit
You should store dry ice in insulated containers designed to slow sublimation. Avoid using airtight containers, as they can explode due to pressure buildup. Follow these guidelines:
| Do’s | Don’ts |
| Use plastic or Styrofoam coolers | Use paper bags alone |
| Keep lids ajar or adequately vented | Seal containers completely |
| Secure containers to prevent spills | Place dry ice in consumable items |
Conclusion
Getting rid of dry ice safely is really important. Always use gloves, let it melt in an open, airy space, and don’t toss it in the trash, sink, or public places.
Dry ice can burn your skin and release gas that’s unsafe in closed spaces. Be careful when handling or moving it, and share these tips with others to help keep everyone safe.

