
Creating a delicious batch of golden-brown delights is truly an art in the kitchen.
The sizzle, the enticing aroma, and the anticipation all lead up to that satisfying moment when you enjoy the crispy perfection.
However, every culinary artist understands that the masterpiece isn’t truly finished without addressing the aftermath: disposing of cooking oil.
It’s a task that often gets overlooked amid the culinary magic, but it’s a crucial step in maintaining a clean and sustainable kitchen environment.
In this guide, we’ll delve into the reasons, methods, and considerations to dispose of oil after frying, ensuring that your kitchen remains a space of both creativity and responsibility.
Why Proper Disposal is Important?

It’s crucial to handle cooking oil disposal responsibly, considering the significant and far-reaching consequences that can arise from neglecting this duty.
When cooking oil is poured down the drain, it solidifies in the pipes, leading to blockages and backups that cause a host of problems in the household plumbing.
These issues go beyond mere inconvenience, often resulting in expensive repairs and, in severe cases, sewage overflows.
The environmental impact is equally pressing. When improperly disposed of, cooking oil poses a substantial threat to aquatic ecosystems once it reaches waterways.
This contamination disrupts the delicate balance of marine life, adversely affecting water quality. The consequences extend to the harm of aquatic organisms, including fish and other marine species.
Therefore, proper cooking oil disposal is not just about avoiding plumbing problems; it’s a vital practice for safeguarding the environment and preserving the health of aquatic ecosystems.
By responsibly managing cooking oil disposal, we contribute to the well-being of both our homes and the broader natural world.
How To Determine If Cooking Oil Is Rancid?
Before you toss out your cooking oil, it’s important to check if it’s still okay to use or if it has turned rancid, making it unsuitable for cooking.
Being able to spot the signs of rancidity is key to ensuring your food stays tasty and safe to eat.
1. Unpleasant Odor
If your cooking oil starts to smell off—like sour, fishy, or musty—it’s a definite sign that it might have gone bad.
If the once-normal smell of your oil now makes you crinkle your nose, that’s a pretty clear signal that it’s turned rancid and might not be good for cooking anymore.
Trust your sense of smell; if it doesn’t smell right, it probably isn’t.
2. Changes in Appearance
Rancid oil can show visible shifts in how it looks. Watch for the oil to become cloudy or take on a darker colour than it originally had.
These visual changes indicate that some chemical transformations have happened, impacting the overall quality of the oil.
3. Reduced Smoke Tolerance
The smoke point of oil signifies the temperature at which it begins emitting visible smoke. Rancid oil commonly experiences a decrease in its smoke point.
If you observe your cooking oil smoking at lower temperatures than usual, it could be an indicator of it going rancid.
This diminished smoke point not only impacts the taste of your dishes but also presents potential health concerns.
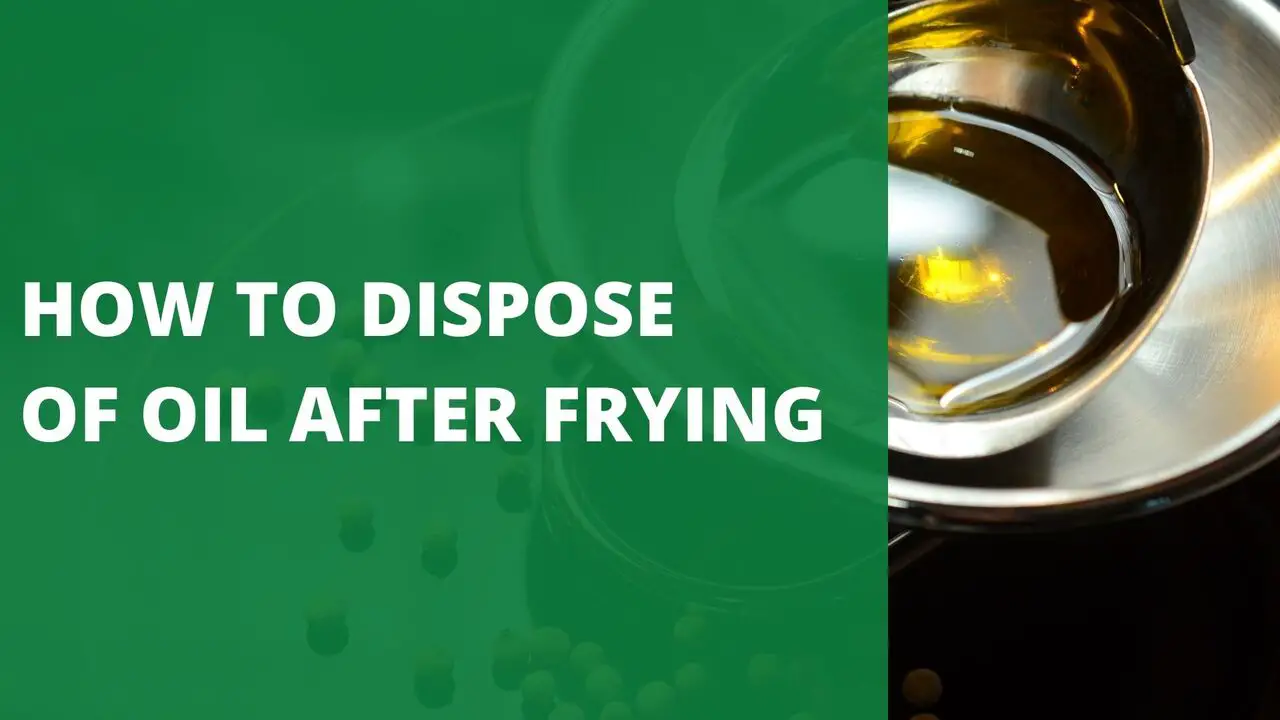
Dispose of Oil After Frying: A Step-By-Step Guide

1. Cooling Down
Before you dispose of used cooking oil, it’s crucial to allow it to cool down completely. Hot oil can be dangerous, causing burns and presenting safety hazards.
To ensure your safety, let the oil sit until it reaches room temperature or is slightly cooler.
This not only minimizes the risk of accidental burns but also makes handling the oil much safer during the disposal process.
Patience at this stage is key, as it sets the foundation for a smooth and hazard-free oil disposal experience.
2. Strain the Oil
As you prepare to part ways with your used cooking oil, take a moment to strain it. This step is simple yet significant.
Using a fine mesh strainer or a piece of cheesecloth, filter out any lingering food particles or debris from the oil. This not only enhances the cleanliness of the oil but also extends its usability.
Straining is like giving your oil a refreshing cleanse, ensuring it’s free of impurities before moving on to the next steps.
Plus, this extra effort makes the oil easier to handle, whether you’re storing it for future use or readying it for proper disposal. It’s a small act that goes a long way in maintaining the quality of your cooking oil.
3. Choose a Container
Now that your used cooking oil is strained and ready for its next chapter, the next step is selecting a fitting container for storage.
Opt for a container that is not only sturdy but also sealable. This could be an old jar, a plastic bottle, or any container with a tight-fitting lid.
The aim is to prevent leaks and spills, ensuring that your kitchen remains mess-free. Be mindful to avoid containers that once housed non-food items, as residues from these can contaminate the oil.
This choice of container is like providing a secure haven for your oil, safeguarding it until it’s time for proper disposal or recycling.
4. Pouring and Storing
Now that your cooking oil has cooled down and been strained, it’s time to smoothly transition it into storage. Pour the oil carefully into the container you’ve chosen, ensuring a steady and controlled flow.
Once the container is filled, seal it tightly—this step is crucial to prevent any potential leaks or spills that could create a mess in your kitchen.
For added organization, make sure to label the container clearly. This simple act helps you avoid accidental mix-ups, ensuring you can easily identify the contents when you need it later.
This pouring and storing process is akin to finding a safe and organized home for your oil, whether it’s for future culinary adventures or responsible disposal.
5. Local Recycling Programs
Take a look around to see if your local recycling program accepts used cooking oil. Some places might have drop-off spots or specific days when they collect used cooking oil for recycling.
It’s a green option that ensures your oil doesn’t end up in landfills but gets a chance to be repurposed.
Joining your local recycling efforts means you’re directly contributing to a more eco-friendly way of dealing with used oil.
It’s a small step that makes a big difference in reducing waste and supporting a sustainable approach to managing resources.
6. Contact Local Restaurants or Businesses
See if nearby restaurants or businesses are working with organizations that collect used cooking oil for recycling.
Give them a shout and ask about drop-off options or if they have regular pickups.
It’s an easy way to do your part in going green, as many places are actively involved in eco-friendly projects.
By reaching out, you not only find a convenient way to get rid of your used cooking oil but also support local efforts to be more environmentally friendly.
It’s a double win — you responsibly handle your oil, and it contributes to eco-conscious practices in your community.
7. Solidifying for Disposal
If you can’t recycle the oil, a smart move is to make it solid before getting rid of it.
Just mix the oil with something absorbent like cat litter or coffee grounds until it turns into a solid lump.
This way, it’s way less messy, and you won’t have to worry about spills.
Solidifying the oil makes it easier to handle and dispose of safely, especially when recycling options aren’t readily available.
It’s a simple and practical approach for dealing with used cooking oil at home.
8. Dispose of in Trash
After you’ve solidified the oil, seal up the container tightly and toss it into the regular trash. Make sure the container is well-sealed to avoid any potential leaks.
It’s a straightforward process, but it’s essential to check your local waste management guidelines to confirm that you’re following the right steps for getting rid of solidified cooking oil.
Proper disposal ensures that your used oil is handled responsibly and doesn’t pose any risks to the environment or your community.
It’s a small but meaningful way to wrap up your cooking oil’s journey, leaving things neat and eco-friendly.
Following these step-by-step methods not only ensures you responsibly get rid of cooking oil but also plays a part in supporting the environment by considering recycling options whenever possible.
Remember to stick to local rules and guidelines to encourage safe and eco-friendly practices.
Guidelines for Storing Frying Oil for Future Use
If you plan on giving your cooking oil a second life, how you store it matters. Here are some guidelines to ensure your oil stays fresh and doesn’t turn rancid
- Cool, Dark Storage: Keep the oil in a cool, dark place away from direct sunlight and heat sources. This helps maintain its quality over time.
- Airtight Container: Opt for an airtight container to seal in the freshness and prevent oxidation. A sealed container safeguards the oil from external factors that could spoil it.
- Strain After Each Use: Make it a habit to strain the oil after each use. Removing leftover food particles helps prevent spoilage and keeps the oil in good condition for reuse.
- Refrigeration for Longevity: For an even longer shelf life, consider refrigerating the oil. The cool temperature slows down the ageing process, preserving the oil’s quality for future culinary adventures.
Buy a Grease Disposal System
Investing in a grease disposal system, often referred to as a grease trap, is a practical and eco-friendly solution for managing used cooking oil.
This system is essentially a plumbing fixture positioned under the sink, designed to capture and trap oil, preventing it from entering the sewer system.
Not only does it make the disposal process more convenient, but it also contributes to environmental preservation by reducing the risk of oil contamination in waterways.
Consider these options for a grease disposal system:
1. MGI Frying Oil Disposal 1.4L Kitchen Cooking Oil Container:
- Features a strainer for easy filtration.
- Metal construction ensures durability.
- Ideal for storing and disposing of used deep-fat oil.
2. Oggi Stainless Steel Jumbo Grease Container:
- Comes with a removable strainer and snug lid.
- Perfect for holding fryer oil, bacon drippings, lard, and ghee oil.
- Large capacity: 1 Gallon / 4 Quarts / 3.75 Liters.
3. Fat Trapper System/Grease Storage Container:
- Includes twelve disposable grease bags for convenient disposal.
- Specifically designed for bacon grease and kitchen cooking oil disposal.
- Provides an efficient and mess-free solution for managing used oil.
Choosing a grease disposal system tailored to your needs not only streamlines the oil disposal process but also aligns with sustainable practices, minimizing the environmental impact of used cooking oil.
Important Things to Keep in Mind
When dealing with used cooking oil, there are a few crucial considerations to ensure responsible and safe disposal:
1. Never pour hot oil down the drain
It’s essential to let the used oil cool completely before disposal.
Pouring hot oil down the drain can lead to clogs and plumbing issues, posing both safety and environmental risks.
2. Avoid mixing oil with other liquids
Combining oil with other liquids can complicate proper disposal.
Keep oil separate to facilitate easier and more environmentally friendly disposal methods.
3. Label containers clearly
Clearly labelling containers as “used cooking oil” is a simple yet effective practice.
This helps in easy identification and ensures that anyone handling the containers knows the contents, promoting safe and proper disposal.
4. Educate others
Spread the knowledge of proper oil disposal practices.
Share this information with family, friends, and neighbours to create awareness about responsible ways to handle used cooking oil.
Collective efforts make a significant impact in maintaining a clean and sustainable environment.
Conclusion
In wrapping up, the essence of cooking goes beyond just crafting delicious meals; it embraces responsible practices that resonate with the melody of sustainability.
As you delve into your culinary adventure, keep in mind that the concluding actions are as crucial as that initial flavorful bite—dispose of your cooking oil with care, leaving behind a legacy of thoughtful culinary craftsmanship.
I hope this guide has been valuable to you. Thank you for taking the time to read!
FAQ’s:
Can you flush oil down the toilet?
No, it’s not a good idea to flush oil down the toilet. Pouring oil down the drain can lead to clogs and backups in your plumbing, causing a headache and potential damage.
Instead, consider proper disposal methods like solidifying the oil or finding local recycling options.
What is the healthiest oil for frying?
When it comes to healthy frying, oils with high smoke points and a good balance of unsaturated fats are ideal.
Olive oil, canola oil, and avocado oil are popular choices.
They bring flavor to your dishes while offering a healthier option for your frying adventures.
What is the best oil for deep frying?
For deep frying, you want an oil with a high smoke point to withstand the high temperatures.
Peanut oil, sunflower oil, and safflower oil are excellent choices. They not only handle the heat well but also impart a delicious taste to your deep-fried delights.
Remember to use fresh oil for each deep-frying session for the best results.