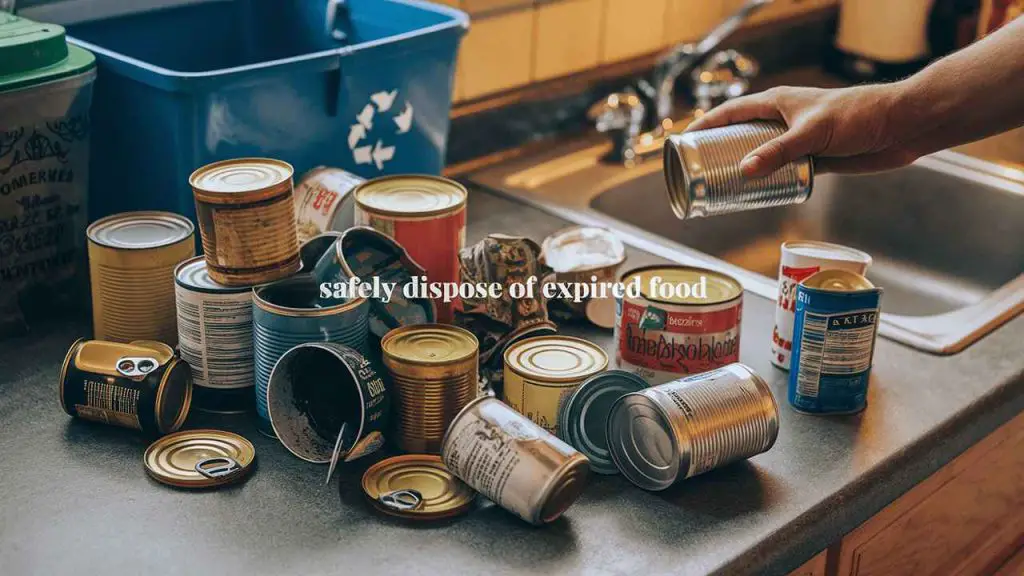
Expired food can pose a significant risk of causing foodborne illnesses. When food goes bad, it can get contaminated with harmful bacteria, which can lead to unpleasant symptoms like nausea, vomiting, diarrhea, and even more severe health issues.
To prevent the spread of such illnesses, it’s crucial to handle and dispose of expired food responsibly.
So, in this article, we will discover 12 highly efficient methods for properly disposing of expired food items. So, without further delay, let’s get started!
What is Expired Food?
Expired food refers to food that has surpassed its recommended “best by” or “use by” date. The government does not regulate these dates but rather set by the food manufacturer.
They serve as a rough estimate of how long the food will maintain its freshness and safety for consumption.
Foods that are considered expired include:
- Meat: Meat should be cooked and eaten within 1-2 days of purchase. Ground meat should be cooked and eaten within 1 day of purchase.
- Dairy: Dairy products, such as milk, yogurt, and cheese, should be consumed within 7-10 days of opening.
- Eggs: Eggs should be consumed within 3-5 weeks of purchase.
- Fruits and vegetables: Fresh fruits and vegetables should be eaten within 3-5 days of purchase.
- Canned goods: Canned goods can be stored for up to 1 year after opening.
- Frozen foods: Frozen foods can be stored for up to 2 years after purchase.
Is Expired Food Usable?
Whether or not expired food is usable depends on the type of food and how it has been stored. Some foods, such as canned goods and frozen foods, can be safely eaten after their expiration date if they have been stored properly.
However, other foods, such as meat, dairy, and eggs, should not be eaten after their expiration date, as they may be unsafe.

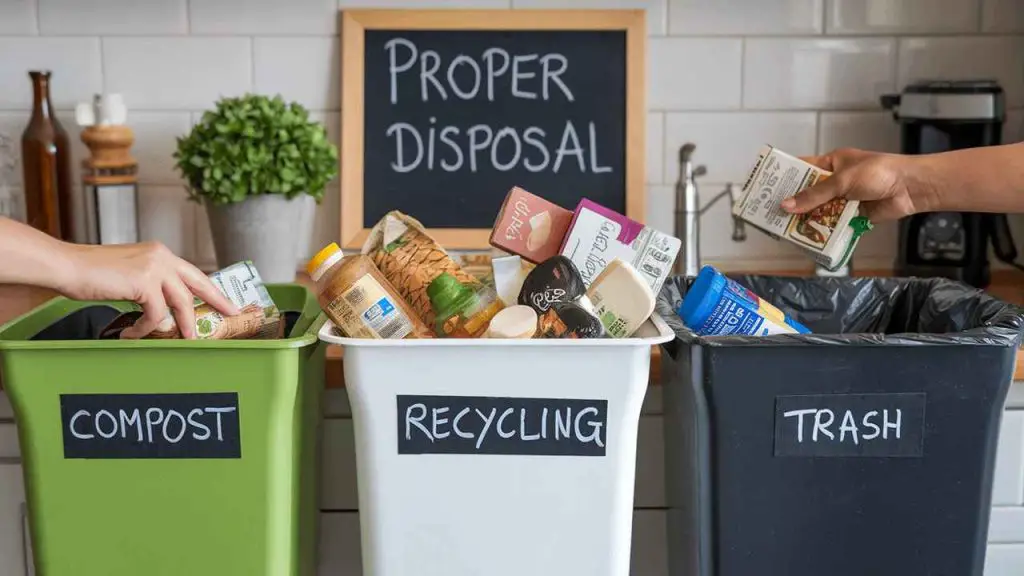
12 Ways to Dispose of Expired Food: Things You Can Do
There are many things you can do with expired food, depending on the type of food and how far past its expiration date is. Here are a few ideas:
#1. Use it as Fertilizer
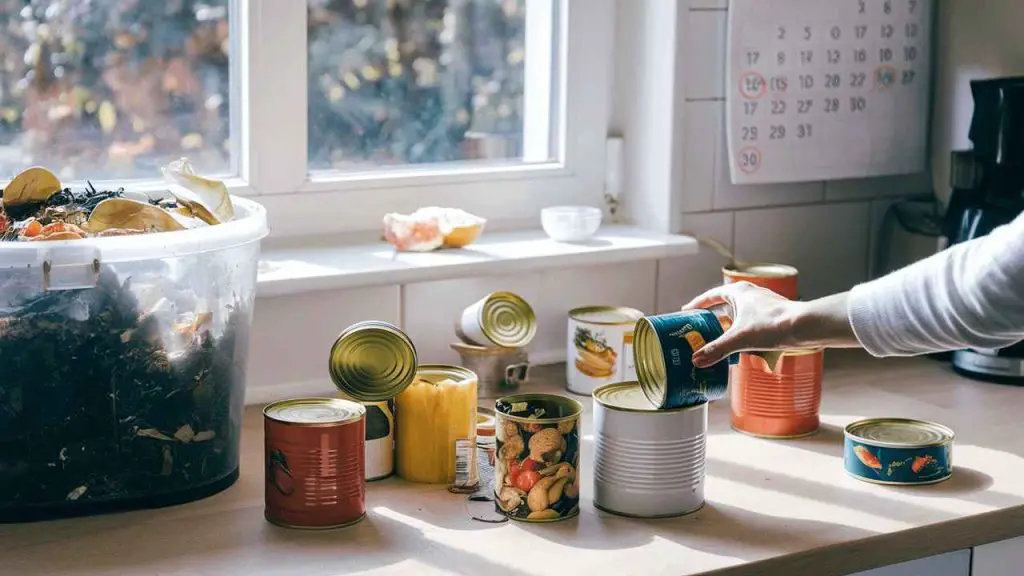
To ensure successful composting, it’s important to select the right type of food for the process. Remember that not all expired food is suitable for composting. Foods like meat, dairy, and processed foods should be avoided as they can attract pests and rodents. Instead, opt for composting vegetable peels, fruit scraps, coffee grounds, and tea bags, as these are excellent choices.
Before adding the food to your compost, make sure to chop it up into small pieces. This aids in faster decomposition. You can also mix in a small amount of soil, which helps break down the food more effectively.
Choose a compost bin to hold your compost. If you don’t have one, you can create your own using a wooden box or a plastic bin. Ensure that there are drainage holes at the bottom to allow excess moisture to escape.
Keep the compost moist but avoid making it too soggy. Regular watering will help maintain the ideal moisture level. To speed up the decomposition process and promote aeration, turn the compost every few days. This simple step helps to mix the materials and ensures proper airflow.
Be patient, as composting takes time. It typically takes several months for the compost to mature. When it reaches a dark, crumbly consistency, it is ready to be used.
Finally, take advantage of your nutrient-rich compost by applying it to your plants. You can use it as a fertilizer by mixing it into the soil or create compost tea, which can be used to nourish your plants. Your plants will thank you for the organic goodness!
#2. Donating Unwanted Food
If you have food that you would like to donate, the first step is to find a suitable organization that accepts food donations. There are various organizations, such as food banks, soup kitchens, and pantries, that welcome these donations. To locate a food bank in your area, you can visit Feeding America’s website, where you’ll find a comprehensive list.
Once you’ve identified a potential organization, it’s important to get in touch with them to inquire about their specific food needs. Different organizations may have varying requirements, so reaching out to them directly allows you to understand what types of food they are most in need of at the moment.
When packing the food for donation, ensure that you use sturdy containers that can safeguard the items during transportation. The containers should be able to withstand any potential damage that may occur while being delivered.
To assist the organization in efficiently managing the donated food, it’s helpful to label the containers with the type of food and the expiration date. This labeling system enables them to quickly identify and distribute donated items, ensuring that they are utilized appropriately.
Once everything is packed and labeled, you have two options for delivering the food to the organization. You can personally drop it off at their location, or if that is not feasible, you can arrange for a delivery service to pick it up and transport it on your behalf. Either way, your contribution will make a meaningful difference in supporting those in need.
2.2 Avoid donating expired canned food
Expired canned food should not be donated because it may not be safe to eat. Canned food has a long shelf life, but it will eventually expire. After the expiration date, the food may become contaminated with bacteria or other harmful microorganisms. This can cause food poisoning, which can be serious, especially for people with weakened immune systems.
If you are unsure whether or not canned food is safe to eat, it is best to err on the side of caution and throw it away. You can also check with the manufacturer to see if they have any recommendations for how long their canned food can be stored.
#3. Store Food Scraps for Later Disposal
To effectively store your food scraps, start by selecting a suitable container. You have several options, such as a mason jar, a plastic bag, or even a compostable bin. If you’re composting the scraps, it’s important to opt for an airtight container to prevent any unwanted pests or odors.
Before placing the food scraps in the container, give them a quick rinse. This simple step helps to minimize odors and deter pests from being attracted to the scraps.
For quicker decomposition, chop the food scraps into smaller pieces. This assists in breaking them down more efficiently during the composting process.
Fill the container with the food scraps, making sure not to exceed about two-thirds of its capacity. This allows for proper airflow and prevents the container from becoming overly crowded.
To slow down the decomposition process and minimize odors, place the container in either the refrigerator or the freezer. This helps maintain freshness and keeps any potential smells under control.
When the container is full or when you’re ready to dispose of the food scraps, empty them into either your compost bin or your garbage can, depending on your specific disposal method. Properly disposing of the scraps ensures they are handled appropriately and reduces waste effectively.
#4. Reusing Food To Regrow Produce
When regrowing vegetables from scraps, it’s essential to choose the right ones. While not all vegetables can be regrown this way, some of the easiest ones to regrow include:
Onions: Cut off the root end of the onion and place it in a jar of water. Allow the roots to grow to about 2 inches in length before transplanting the onion into the soil.
Celery: Cut off the bottom of the celery stalk and place it in a jar of water. New leaves will start to grow, and once they reach approximately 6 inches in length, you can transfer the celery into the soil.
Lettuce: Cut off the bottom of the lettuce head and place it in a jar of water. New leaves will sprout, and once they reach about 6 inches in length, you can move the lettuce into the soil.
Carrots: Cut off the top of the carrot and place it in a jar of water. New roots will begin to grow, and once they reach about 2 inches in length, you can plant the carrot in soil.
Turnips: Cut off the top of the turnip and place it in a jar of water. New leaves will emerge, and once they reach approximately 6 inches in length, you can transplant the turnip into the soil.
To ensure successful regrowth, provide the vegetables with the right conditions:
Water: Keep the vegetables moist, but avoid making the soil overly soggy.
Sunlight: The vegetables need a minimum of 6 hours of sunlight each day, so place them in a location where they can receive adequate sunlight.
Soil: Choose well-drained and fertile soil for the vegetables to grow in.
Once the regrown vegetables are established, you can fertilize them every few weeks using a balanced fertilizer to provide additional nutrients.
When the vegetables have grown to a sufficient size, you can harvest them. Remember to leave some leaves or roots intact on the plant so that it can continue growing and regenerating for future harvests. Enjoy the satisfaction of harvesting your own homegrown vegetables!
#5. Feed expired food to the Animals
Feeding expired food to animals is not recommended due to several potential risks. Expired food may have lost its nutritional value and could harbor harmful bacteria, which can make the animals sick. It is advisable to either compost expired food or dispose of it appropriately.
However, if you find it necessary to feed expired food to animals, here are some steps you can follow to minimize the risk of illness:
First, carefully inspect the food for any signs of spoilage, such as mold, unusual discoloration, or a foul smell. If you notice any of these indicators, it is crucial not to feed the food to the animals.
Before offering the expired food to the animals, ensure you wash it thoroughly. This process helps remove any potentially harmful bacteria that might be present on the surface.
To further reduce the risk, feed the expired food to the animals in small amounts. This approach minimizes the chances of them becoming ill if the food has indeed spoiled.
After the animals have consumed the expired food, closely monitor them for any signs of illness. If you notice any symptoms, such as vomiting, diarrhea, or unusual lethargy, it is essential to seek veterinary attention immediately.
#6. Turn it Into a Cleaner
Gather all the ingredients you’ll need for this homemade cleaner. Get hold of 1 cup of food scraps, which can include fruit and vegetable peels, coffee grounds, and tea bags. Additionally, grab 1 cup of sugar and 2 cups of water.
Now, combine all the ingredients in a jar or container of your choice. Make sure to mix them thoroughly to ensure they blend well together.
Cover the jar or container with a lid, creating a seal, and find a warm place to let it sit undisturbed for about 3-4 weeks. This allows the ingredients to undergo a fermentation process, infusing the liquid with beneficial properties.
Once the waiting period has passed, it’s time to strain the liquid from the mixture into a spray bottle. This ensures a smooth consistency for easy application.
#7. Use it as a Cosmetic Face Mask or Exfoliant
When selecting food scraps for homemade face masks and exfoliators, it’s important to choose the right ones. Here are some excellent options to consider:
Oatmeal: Oatmeal serves as a natural exfoliant, gently removing dead skin cells and revealing smoother, healthier skin.
Avocado: Rich in vitamins A and E, avocado nourishes and hydrates the skin, leaving it feeling supple and refreshed.
Honey: With its natural antibacterial and antifungal properties, honey acts as a protective agent, guarding the skin against infections and promoting a healthy complexion.
Yogurt: Yogurt is an excellent source of probiotics, which can enhance the overall health and appearance of the skin.
Egg whites: Known for their astringent properties, egg whites help tighten and tone the skin, promoting a youthful and rejuvenated appearance.
Once you have chosen your desired food scraps, it’s time to prepare them accordingly. Depending on the ingredient, you may need to mash avocados, blend oats, or warm honey to achieve the desired consistency.
Next, apply the mask or scrub evenly to your face or body, gently massaging it into the skin. This allows the beneficial properties of the food scraps to penetrate and nourish your skin.
Allow the mask or scrub to sit on your skin for approximately 10-15 minutes, giving the ingredients ample time to work their magic.
After the designated time has passed, rinse off the mask or scrub with warm water, ensuring that all residues are thoroughly removed.
To complete your skincare routine, remember to moisturize your skin. Applying a suitable moisturizer helps to seal in the moisture, leaving your skin looking and feeling its best.
#8. Use Spoiled Milk in Baking
Before using milk in your baking, it’s crucial to determine if it is spoiled. Take a moment to check for signs of spoilage, such as a sour, bitter, or offensive odor. Keep in mind that while sour milk may have a slightly sour taste, it should not be outright repugnant.
If you find that your milk has turned sour but not spoiled, it can still be put to good use in baking. Sour milk can serve as a suitable substitute for buttermilk, which is a fermented milk product with a mild sour taste.
Given the similar flavor and acidity between sour milk and buttermilk, you can confidently incorporate sour milk into baking recipes that call for buttermilk.
To use sour milk in baking, simply replace the buttermilk in the recipe with an equal amount of sour milk. Depending on the recipe, you may need to make slight adjustments to the quantity of baking soda or baking powder, as sour milk’s acidity can impact the leavening process of the baked goods.
Here are a few delightful recipes that can make excellent use of sour milk:
Pancakes: Sour milk lends a subtle tanginess and helps create wonderfully fluffy pancakes.
Biscuits: Sour milk contributes to tender and slightly sweet biscuits.
Scones: Incorporating sour milk adds a gentle tang and contributes to the light and airy scones.
Cookies: Swap regular milk with sour milk in cookie recipes to introduce a touch of tanginess and achieve a slightly chewier texture.
Cakes: Substitute milk with sour milk in cake recipes to infuse a pleasant tang and enhance moistness.
While incorporating sour milk in your baking endeavors, remember that its shelf life is shorter than that of fresh milk. Use sour milk within a few days of opening to ensure optimal freshness and taste.
#9. Revive Brown Sugar
To soften brown sugar effectively, you can try a few different methods using common expired food items. Here’s how you can do it:
1. Apple: Place a slice of apple in an airtight container along with the brown sugar. The apple will release natural moisture, which will gradually soften the sugar. Allow the apple to sit in the container for about 24 hours or until the desired softness is achieved.
2. Bread: Another option is to place a slice of bread in an airtight container with brown sugar. The bread will release moisture, aiding in softening the sugar. Leave the bread in the container for approximately 24 hours, or until the sugar becomes soft and easy to work with.
3. Potato: Cut a potato into small pieces and add them to an airtight container with the brown sugar. The potato will release moisture, effectively softening the sugar. Allow the potato to sit in the container for around 24 hours, giving it ample time to work its magic and soften the sugar.
4. Cinnamon: For added flavor and to prevent clumping, incorporate a pinch of cinnamon into the brown sugar. The cinnamon will help to maintain the sugar’s texture and prevent it from sticking together.
5. Water: If the brown sugar is particularly hard or dry, you can add a few drops of water to the sugar. Be cautious not to add too much water, as it can make the sugar overly moist. Gradually sprinkle a small amount of water and mix the sugar until it reaches the desired softness.
Once your brown sugar has softened, you can joyfully utilize it in your favorite recipes without any hassle. Enjoy the delightful taste and texture it adds to your culinary creations.
#10. Keep Stale Bread
If your bread has mold, it’s not safe to eat, so throw it away. To add moisture to dry bread, you can brush it with water or use a spray bottle to spritz it.
Another option is to wrap the bread in a damp paper towel. Warming the bread by toasting it or placing it in the oven will help restore moisture and make it soft again.
If you don’t plan to eat the bread within a few days, you can freeze it by tightly wrapping it in plastic wrap or aluminum foil. Frozen bread can be stored for up to 3 months.
#11. Turn Your Avocados into Shampoo
Gather your ingredients, including 1 ripe avocado, 1/2 cup water, 1 tablespoon of honey, and 10 drops of essential oil (optional). Begin by mashing the avocado using a fork or a food processor until it achieves a smooth consistency.
Then, add the water and honey to the mashed avocado and thoroughly stir until they are well combined. If desired, you can enhance the fragrance by adding 10 drops of your preferred essential oil.
Next, transfer the mixture to a clean bottle for storage. Before using, make sure to shake the bottle to ensure all the ingredients are properly mixed.
Finally, apply and use your homemade shampoo just like you would with any other shampoo, and enjoy the natural goodness of your creation.
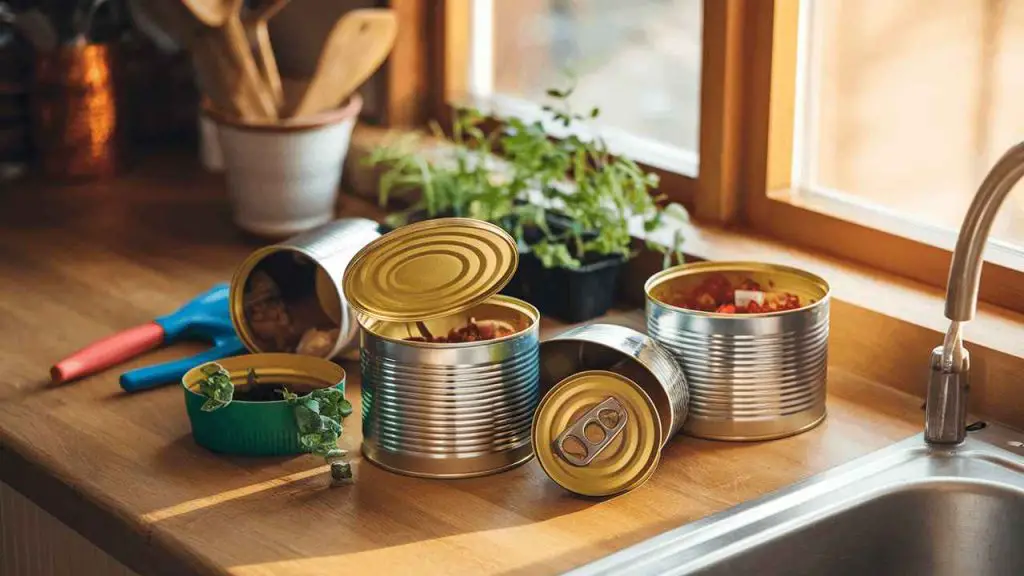
#12. Keep Your Canned Goods
To ensure the safety and longevity of your canned goods, it is important to follow these guidelines. Store your canned goods in a cool, dry place with a temperature range of 50 to 70 degrees Fahrenheit.
Avoid exposing them to direct sunlight or areas with extreme temperature fluctuations. Additionally, establish a rotation system where you place newly purchased canned goods at the back of the pantry and use the older ones first, reducing the risk of food spoilage.
Before using any can, carefully inspect it for dents, rust, or other damage, and discard any cans that show signs of compromise. The label opened cans with the date to track their storage duration and determine their freshness.
It is crucial to discard any expired canned goods as they may no longer be safe to consume and can pose health risks. Remember to keep your canned goods off the floor to prevent damage from pests, and consider using a sealed container in humid climates to prevent rusting.
For long-term storage, periodically rotate the canned goods to ensure even storage and maintain their quality. By adhering to these practices, you can enjoy the safety and freshness of your canned goods for extended periods.
FAQs:
What Is the Most Ecofriendly Way to Recycle Pantry Items?
You can recycle pantry items in eco-friendly ways. Composting, donating, recycling, and upcycling are common methods. Composting turns food scraps into nutrient-rich soil.
Donating helps those in need and reduces waste. Recycling conserves resources by processing items like glass jars, plastic bottles, and metal cans. Upcycling repurposes pantry items creatively. These methods provide sustainable alternatives and contribute to a greener future.
Is Expired Food Usable?
Expired food usability varies. Canned and dried goods can be safe beyond expiration. Meat, dairy, and eggs must be discarded.
How to Clean Piercings So They Won’t Smell?
Use saline solution twice daily. Apply with a cotton ball, avoiding touching the piercing. Wear implant-grade titanium jewelry. See the piercer if the smell persists.
Additional Contents